That Clutch
Like most Velo owners I have had my struggles trying to stop the clutch springs from bending whilst tighting up the sleeve gear nut. I have tried pulling out the spring holder to try and support the springs, lightly ground the ends and radiused the edges even polished and greased them to no avail. I recall some years ago, printed in F/T members suggesting using the centre tube of ball point pens cut to length and inserted into the spring and another fitting brake rivets on the head of the spring. So when I had to assemble my Venom (with new plates) I thought I’d try the F/T ideas. Not being keen on the pen idea I went to my rivet box to find some brake rivets, on fitting them I found they were loose and rather heavy, plus I wanted to keep them in case I needed them in future. However in the box sat a cheap eyelet kit as sold in D I Y shops and I found that, with a bit of a push the eyelets fitted perfectly . Some were even made of brass, so I made a tool out of a bit of round brass and drilled it slightly larger than the spring diameter and to a depth of 1/2″, placed them in the vice, tightened, and they fitted firmly without falling out. With a bit of grease on the end and the spring holder pulled out towards the nut it worked a treat, simple yet effective and I wondered why I had not thought of it years ago.
John Bryant
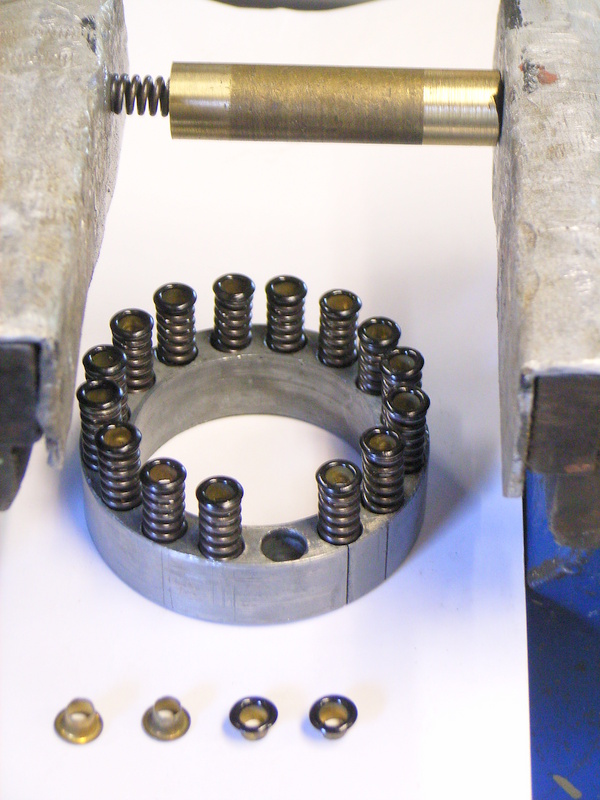
- Velo clutch spring mod. using brass eyelets
Fuel Tap Corks for Ewarts Pull on Taps.
The corks for these sold by classic spares companies are often full of flaws and either leak or don’t last. I prefer to make my own adjustable ones.
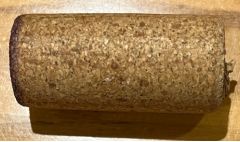
- Choose a cork made from composite particles rather than plain cork. This avoids flaws and lasts better. I save these from bottles of cheap Italian wine.(Illustration 1)
2. Dismantle the tap by removing the small retaining screw and pull out the plunger.
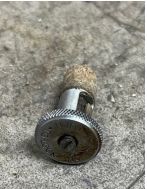
3. Support the knob part and punch out the brass cork holder.(Illustration2)
4. Tap the knob M4.
5. Drill a 4mm hole through your cork and slice off a length equal to the old cork.
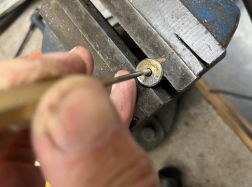
6. Either turn up a replacement cork holder threaded 4mm or use a countersunk 4mm screw. Cut a screwdriver slot in the threaded end.(Illustration 3)
7. Assemble the cork onto the screw and screw into the threaded knob. Tighten enough to hold the cork from turning.
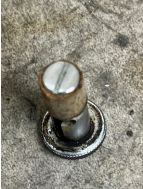
8. Using a linisher with about 320 grit rotate the cork steadily until it has worn down to be an easy but not loose fit in the tap barrel.
(Illustration 4)
9. Coat with vaseline and assemble into barrel.Fit retaining screw.
10. Using a small screwdriver rotate left until the cork is a firm sliding fit.
11. Fit to tank and put some fuel in.
12. Place a tissue under the tank and leave overnight to test for drips. Tighten more if it leaks
